Image slider
Watch in the video how to add the image slider module and how to use it. Below you can find a more detailed explanation on how to use the module.
The structure of the image slider
A media module consists of:
- A number of tab images
- Caption - optional
Edit image slider
Special elements
To insert an image into an image slider, first insert a tab and then insert a tab image.
REMEMBER: Always save the page before inserting a new element into the image slider.
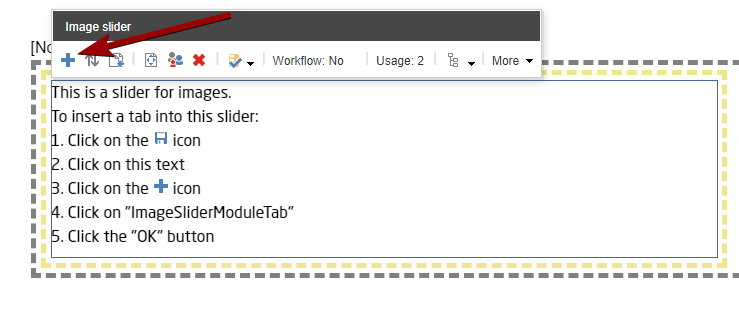
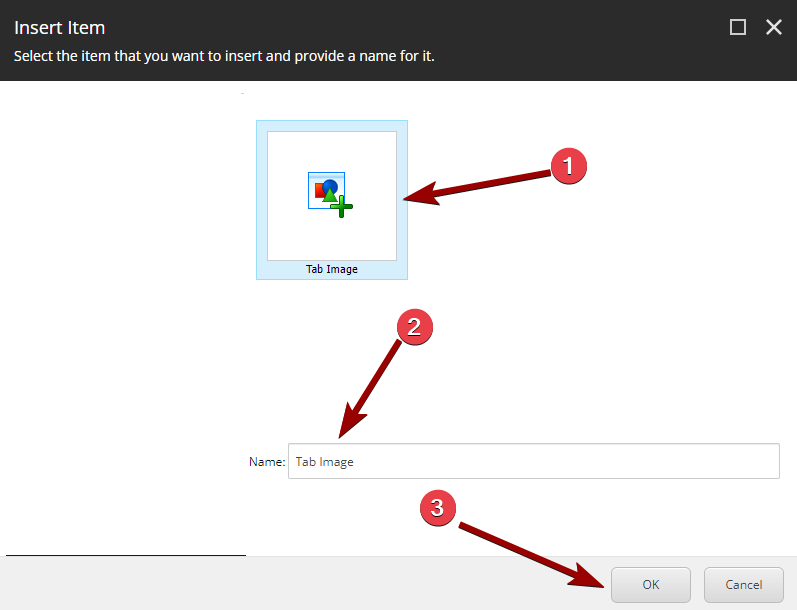
Insert tab:
- Save the page
- Click on the image slider element to bring up the toolbar.
- Click on the blue plus.
- Click on the Tab image element.
- Enter a name in the Name field
- Press Ok.
Insert image in tab:
- Save the page
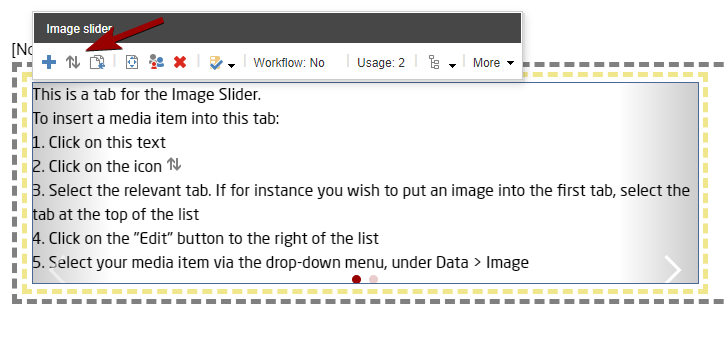
- Click on the tab item to bring up the toolbar.
- Click on the icon with two arrows
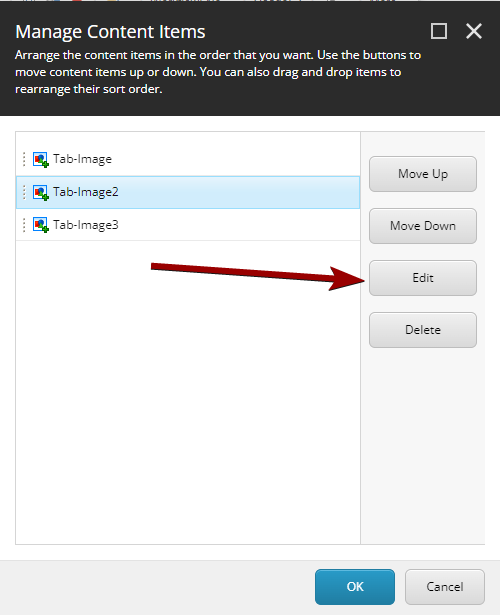
- Click on the tab where you would like to insert the image
- Select Edit
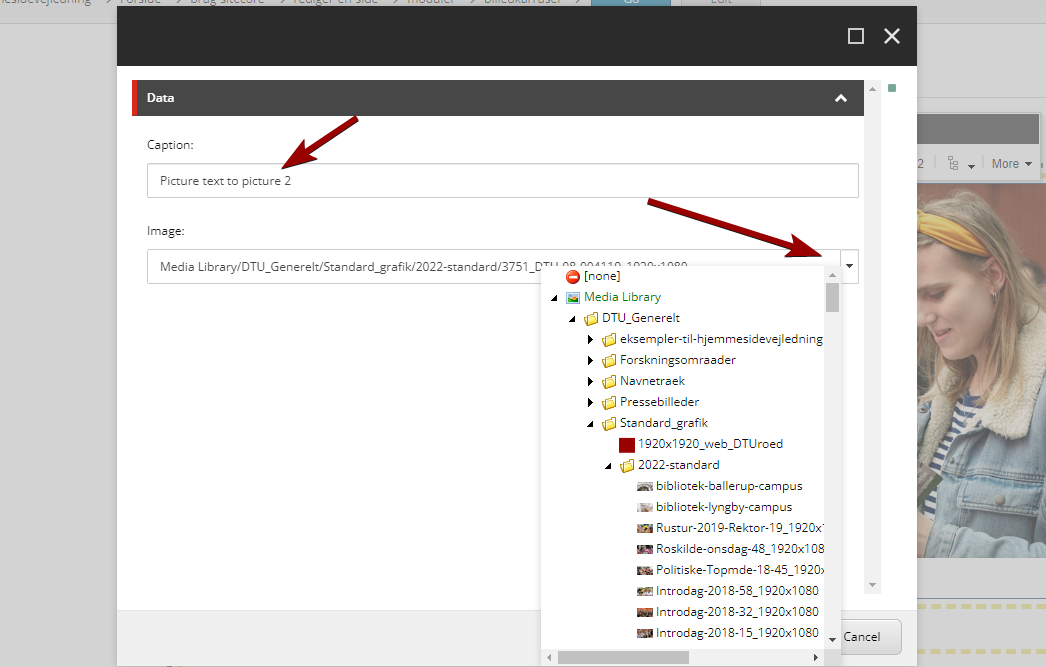
- Click the arrow to the right in the Image field
- Browse to the desired image in the Media Library
- Write a caption in the Caption field
- Click Ok.
Sort the order of images
- Save the page
- Click on the image slider element to bring up the toolbar.
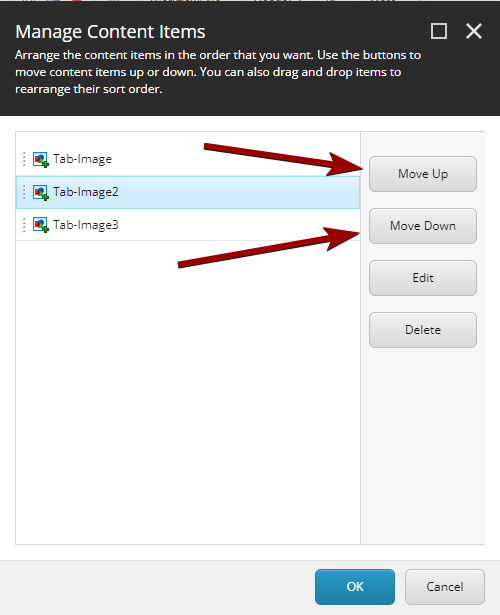
- Click the icon with two arrows
- Select the tab image item you want to move up or down
- Click Move Up or Move Down
- Click Ok
Delete an image
- Save the page
- Click on the image slider element to bring up the toolbar.
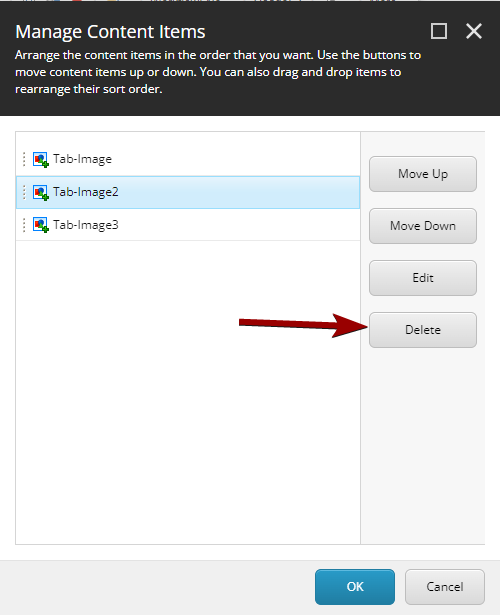
- Click the icon with two arrows
- Select the tab item you want to delete
- Click Delete
- Click Ok
Here can an image slider be inserted:
In container (M) 9 columns:
- cell 3 columns
- cell 6 columns
- cell 9 columns
In container (L) 12 columns:
- cell 3 columns
- cell 4 columns
- cell 6 columns
- cell 8 columns
- cell 9 columns
- cell 12 columns
In container (S) 6 columns:
- cell 3 columns
- cell 6 columns
